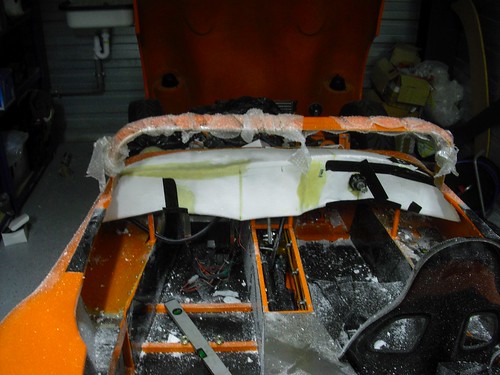
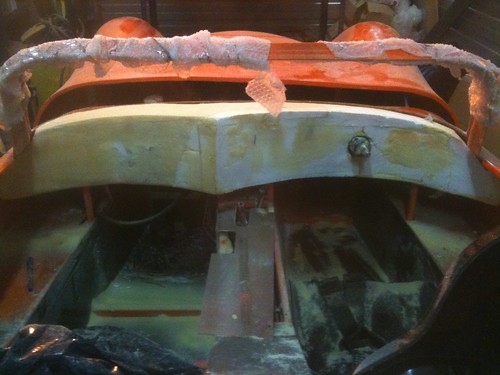
I first lined the area with bin bags as I was expecting to use a bit of expanding foam to fill in the gaps, I taped this all up to form a mostly water tight working area.
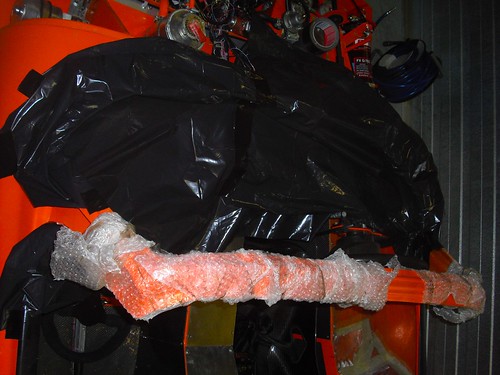
I used sheets of polystyrene insulating material to form the buck, these were glued together to make a block, and material was removed to form the shape.
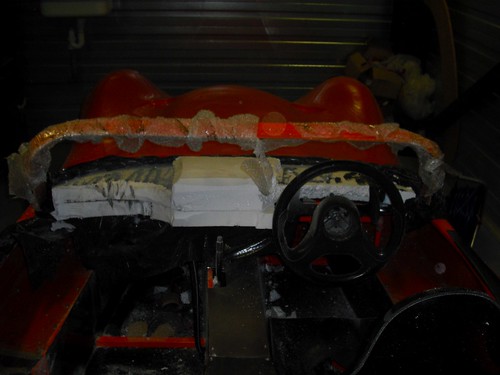
The first idea was to have a dashboard that was more or less symetrical, with the center protruding forward. I visioned having a row of buttons on the the central part, the vents underneath. Completely flat with carbon fibre inserts, however the shape just doesnt fit the car, in order to get a large flat surface it has to protrude to far forward.
I tried a few attempts at this shape using a flat part in the middle, but it just doesnt look right.
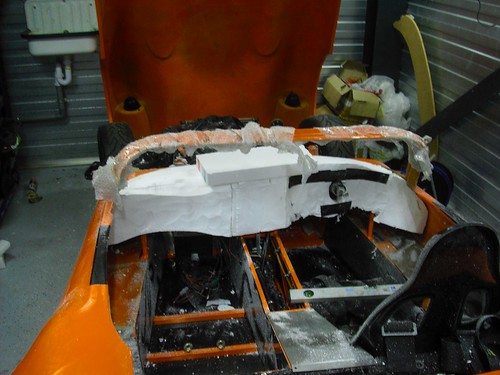
Once I had a buck that fitted the car well, rather than re-fabricate it each time I needed to add material or made a mistake, i used two part expanding foam. This stuff is pretty messy but very convenient.
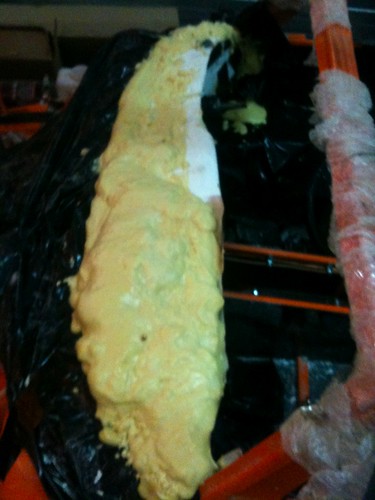
Using some tape and gravity you get a reasonable amount of control over the shape that the foam will form.
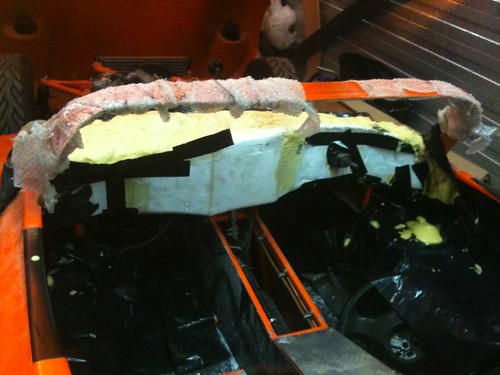
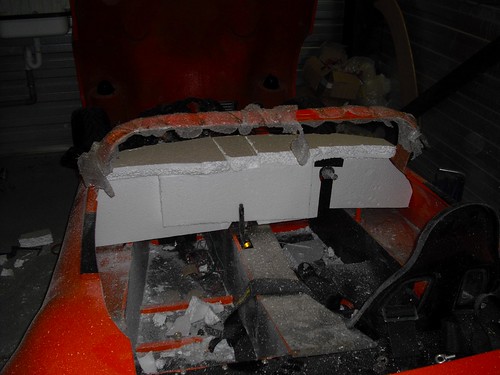
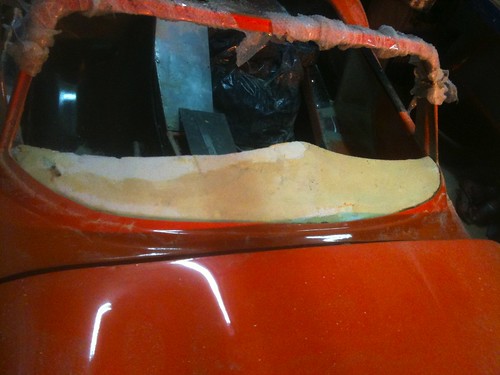
The end result was that the center part needed to be in line with the rest of the dashboard, so i tried a few options using simple curves.
I found that I like the rearward face of the dash to be close to vertical, or even slightly tapered upwards, with the two curves meeting in line with the edge of the transmission tunnel.
The top is a smooth radius between the front bulkhead and the edge of the dashboard. This gives plenty of clearance for the gear shifter, my hands around the steering wheel, and my legs without being too far away to reach.
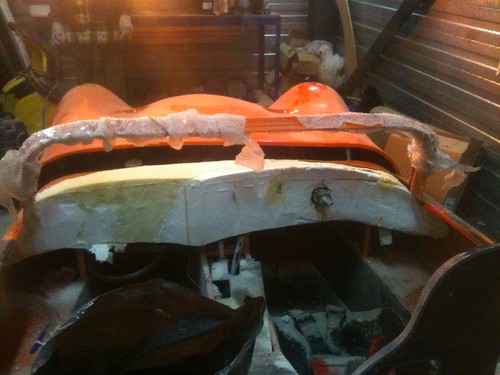
Once the buck was the right shape I covered it in duct tape and release agent in order to make the dash itself. I was getting to the point where it was becoming impossible to sand the buck due to the changes in surface materials and their differing hardness. I decided the best option is to just make the dashboard, and use some filler to get a smooth surface, its very close already so shouldnt require much effort.
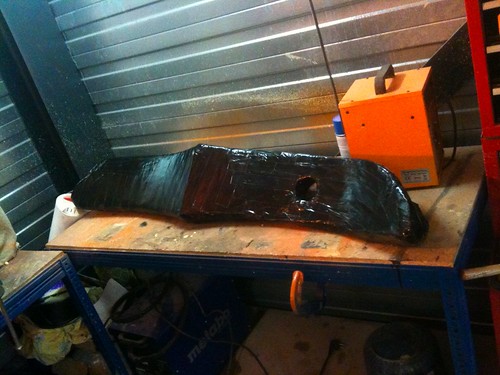
Once made, I did a quick trial fit and trimmed it where required.


I've now sanded it down and added filler to a few places. Once I get the dials and buttons I'll fit them, and then cover the dashboard in Alcantara before final fitment.
No comments:
Post a Comment