Saturday, January 23, 2010

Wiring

So, to finish the car, I 'just' have to:Fit the windscreen wipers, and windscreen
Fit the gauges, switches, vents and dashboard (all part of the same job.)
Fit the rear lights
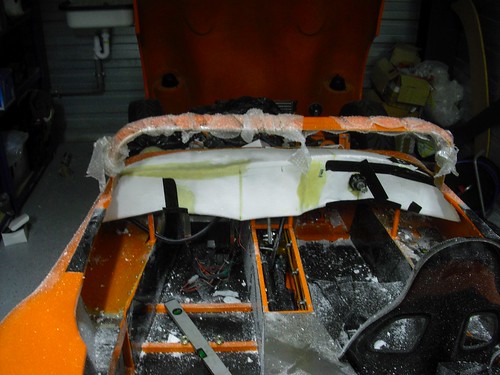
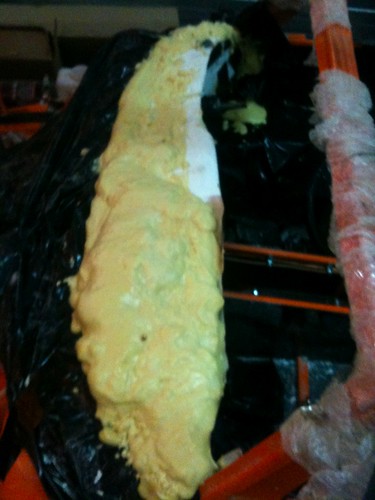
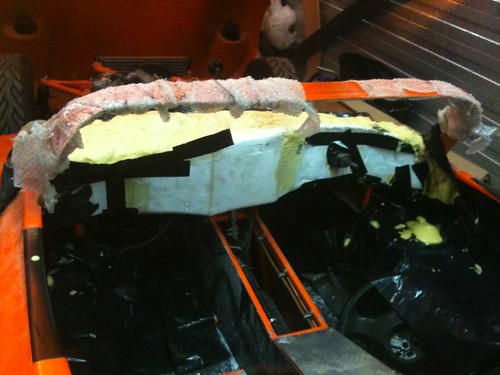
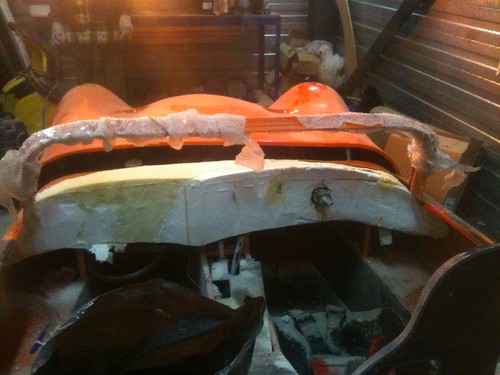
Make an under tray and flat floor.
Powder coat the rollover bar (Painting this has been a series of disasters.)
Wire the whole thingFill with oil and waterStart. Drive. Smile.

The windscreen and wipers will be the last thing I do, as it will restrict access to everything else once it is in there. Rear lights are on order, and im still deciding over the gauges and layout of the dash, so the logical thing to do now is the wiring. I'm going to make my own loom, although there are a few off-the-shelf options that are very appealing. Premier Wiring make a great Lucas based loom, Alan the chap who runs Premier Wiring will do more or less any length/combination of clips etc, but there are a few fundamental things that are suboptimal about the loom. Mainly the proportions aren't quite right for such a small. I always find i'm
cutting out things and faffing around to make it tidy. For the money though, the quality is outstanding and its very well made.

Stafford Vehicle Components also do a 'Rapidfit' Loom and some others, these are more expensive versions of the Premier wiring loom, and whilst these look well made, ultimately are not going to be quite what I want, especially as I'm aiming to save weight, and have some specific requirements for lighting and accessories such as camera/intercom etc which all must be powered and require non-12v feeds.

The front of the loom will be supported by a tray underneath the dashboard, this will keep everything tidy. Instead of fuses I will be using circuit breakers, I hate fuses, they have a really annoying habit of blowing when i've run out, and I find them generally fiddly. Circuit breakers work pretty much instantly, which is also a good thing, but can also be reset easily and give a clear indication that they have tripped which makes fault finding simpler. Where possible I shall use Lucas color codes.

The main power control is via an FIA master switch close to the battery, this feeds the ignition key which is the main on/off switch for the car. I will fit this after IVA.

The IVA requires that the side (Parking) lights can be on with the ignition off. In order to remove any ambiguity over what qualifies for the Ignition, I shall remove the FIA master switch for IVA. Some cars disable the headlights when the ignition is off leaving just the sidelights on even if the dipped headlights are still switched on. This is handy as it means you are less likely to run the battery flat if you leave your lights on, but the simplest way is simply to wire all lights via permenant live.

I am using toggle switches for primary light control, these are rated to at last 24 Amps at 12V, this means I can power the lights directly from the switch. However I'm using a momentary on push button and a bistable latching relay to control dip/main beams. This enables me to have a button on or near the steering wheel so that I can dip the lights quickly when driving at pace without moving my hands from the steering wheel.

The push button will also flash the main beams if the lights are not switched on. There is no requirement in the IVA for this, however it is my personal preference.

I'm doubtful if the generator on the bike engine will be able to cope with driving lamps, however I will wire these in regardless. (I want to avoid splicing circuits at a later stage.) This will be done through an off/on/on toggle switch. When set to off, the driving lights will remain off regardless. When set to position 1, the lights will illuminate with main beams. When set to position 2, the lights will light when the dipped and main beams are on. The load from these lights in combination with the headlights may be too much for a toggle switch, so I shall wire these through a separate r
elay.

The IVA states that the fog light must come on when selected and when the dipped or main beams are on, it is wired through the main lighting circuit, there is no need for a relay for this.

Brake and reverse lights are wired via the ignition switch.

I'm using a lower power, constant rate flasher unit, this has a feed from the permanent live, and goes to the indicator control box, which i've designed to use single push buttons on the wheel. the control box also controls the hazard waring lamps, which must work with the ignition off.

There are separate circuits for comms/cameras, auxiliary devices (both perm and ign live) dashboard electronics including heater/fan, windscreen wipers, and the engine.

The engine loom is completely seperate with 7 wires going back to the main loom for fuel pump (switched live.) fan, (Switched earth), Permanent Live, Ignition Live, Run, and Start (Switched Earth)


Friday, January 22, 2010

MX5 hits 200,000km


The MX5 rolled over 200,000km this week. I've done over 110,000KM since i bought the car, and looking back its done pretty well.

I bought the car with a missing big-end bearing, so replaced the engine at 90,000km. I replaced the engine, and had a couple of issues shortly afterwards with the water pump leaking which would have been easily replaced had it not failed at the side of the M1, Mike helped me out and a new cam belt, tensioner and pump where fitted in a couple of hours.

In 2007 Jerome managed to press hard enough on the passenger footwell that the footrest nipped the permanent live to the alarm causing a short and some smoke. In 2008 at 160,000 the differential pinion gear broke a tooth. Presumably due to the fitment of an aftermarket torsen LSD. In 2009 I had a moment after having found the OEM cigar lighter when cleaning the car out, I'd refitted it and a few days later whilst waiting on the boat at Dover the inside was filled with smoke as I must have knocked it on, and of course it didnt turn itself off again. In 2010, at 199,460km, the fan belt snapped on the way back from Germany, of course I had a spare sitting in the garage in preparation for the next major service. Other than that I've had no other issues with the car which I think is pretty good considering it is 18 years old. It starts first time, every time.

There are a few minor annoyances with the car, the bushes are getting a bit soft, and the original bilstein front shocks are showing signs of wear. The clutch release bearing is also a bit noisy and will be replaced soon along with the clutch and spigot bearing. The car eats about 1liter of oil every 3000km. The drivers seat is also a bit worn out now too, but generally despite damage caused by me being careless and the odd hummer reversing into it, its still in pretty good condition.

Over the last year I've covered 30,731KM, averaging 9.24L/100km with low 8s in the summer and low 9s in the winter time due to the aerodynamic drag of the lights I presume. The highest L/100km was 19L/100 recorded at the Nurburgring in April. I travel an average of 84km/day. The cost per KM works out at 0.13Euro including service and tax, not including insurance. (As this is on another policy for all my cars.)

The car is serviced every 10,000KM with new oil, filters, and plugs using good quality semi synthetic oil. Tires last about 20000km on the rear, and about 12-15000km on the front due to both excessive camber and the number of track days.

Monday, January 18, 2010

Little Jobs

Refitted the steering column, this was quite fiddly as it needed to be adjusted so that I can get in and out, as well as enabling me to get the dashboard on and off. If I ever take it off again I'll make up a set of shims rather than using about 20 washers to give the right spacing.

The dashboard was drilled to accept the rod for the gear change, and a final coat of glass matt on the underside where the brackets are. The brackets bolt to the bulkhead to give strength to the top, the front will bolt to the metal bar. I added some filler to some of the areas with imperfections. It is now ready for final fitment. I can't do that until the wiring is done and ideally not until after all the buttons/gauges/dials are fitted.

I noticed that there are a couple of drips from the coolant pipes so i may have to get some proper joiners made up.

I cleaned up the engine bay with the air line and blew out all the dust and fiberglass remains that had found there way in everywhere. I think the wiring will be the next major job to do will be the wiring as this is going to be the bottleneck for a few other jobs.

I started with some ideas for the rear lights, more to come on that another day.

Friday, January 1, 2010

Dashboard

I started on the dashboard, I tried a few options in aluminium and wood, but it really needs to be curved. In the end I decided I'd just have to fabricate something in GRP. I want a dashboard that fits the curves of the car, does not get in the way, but is also easy to reach, has sufficient space for vents and instruments, and looks like it was designed rather than just made to fit.

I first lined the area with bin bags as I was expecting to use a bit of expanding foam to fill in the gaps, I taped this all up to form a mostly water tight working area.

CIMG1203

I used sheets of polystyrene insulating material to form the buck, these were glued together to make a block, and material was removed to form the shape.

CIMG1206

The first idea was to have a dashboard that was more or less symetrical, with the center protruding forward. I visioned having a row of buttons on the the central part, the vents underneath. Completely flat with carbon fibre inserts, however the shape just doesnt fit the car, in order to get a large flat surface it has to protrude to far forward.

CIMG1213

I tried a few attempts at this shape using a flat part in the middle, but it just doesnt look right.

CIMG1216

CIMG1218

Once I had a buck that fitted the car well, rather than re-fabricate it each time I needed to add material or made a mistake, i used two part expanding foam. This stuff is pretty messy but very convenient.

IMG_1076

Using some tape and gravity you get a reasonable amount of control over the shape that the foam will form.

IMG_1077

The end result was that the center part needed to be in line with the rest of the dashboard, so i tried a few options using simple curves.

IMG_1080

IMG_1081

I found that I like the rearward face of the dash to be close to vertical, or even slightly tapered upwards, with the two curves meeting in line with the edge of the transmission tunnel.

The top is a smooth radius between the front bulkhead and the edge of the dashboard. This gives plenty of clearance for the gear shifter, my hands around the steering wheel, and my legs without being too far away to reach.

IMG_1083

Once the buck was the right shape I covered it in duct tape and release agent in order to make the dash itself. I was getting to the point where it was becoming impossible to sand the buck due to the changes in surface materials and their differing hardness. I decided the best option is to just make the dashboard, and use some filler to get a smooth surface, its very close already so shouldnt require much effort.

IMG_1111

Once made, I did a quick trial fit and trimmed it where required.

IMG_1112

IMG_1113

I've now sanded it down and added filler to a few places. Once I get the dials and buttons I'll fit them, and then cover the dashboard in Alcantara before final fitment.