The chassis came back from powder coating on Tuesday, so I booked a van and went to collect the chassis on the Saturday. I drove down via dunkirk and dover over night, managed to miss my boat due to the van being too high, by the time I'd paid the surcharge the ship had sailed.
FYI,
Norfolkline don't really discriminate between cars and vans as long as its for non-commercial use, when you book online via an agent, you get a billion options for length and height etc, basically, the trigger is 2.4 Meters high, if its over this, your van doesn't fit in the upper (car) decks, and you must go in the main truck decks, for this there is a surcharge. The maximum length would appear to be 6 Meters, but it is the height that is the one to watch.
From Utrecht, it is quicker and cheaper to drive down via the channel, than take the crossings from Rotterdam/Hoek Van Holland, although there is a lot of convenience from the overnight crossing if your in the east/north.
Unlike my previous trips through Dover, I didn't have any issues with customs and intimidation, and was out of the port by 9.15, I'd expected it to take up to 45 minutes. A quick stop at Ashford to visit the bank and I arrived at
BGH Geartech. Chris went through the bits and bobs, and we discussed the build, he explained how the chassis bolted together, and of course I promptly forgot it all, but I'm sure it will all come back to me at the appropriate time.
I had a good nosey around the shop, and at the parts. Chris hadn't got the engine mounts made up yet, so they kept the engine as this is the first one they have with the 2006+ engine design. This is a bit of a setback, because, whilst I had known that the drive-shafts wouldn't be ready, I had instead decided to concentrate on getting the engine plumbed in. Instead I will have to do a lot of things piecemeal.
Chris also got some RS 2000 uprights, I wasn't sure if these were the right ones for the hubs as rally design sales guy had said that the alloy hubs used standard bearings. In the end, they were group four hubs, not standard alloy ones like the raceleda set.
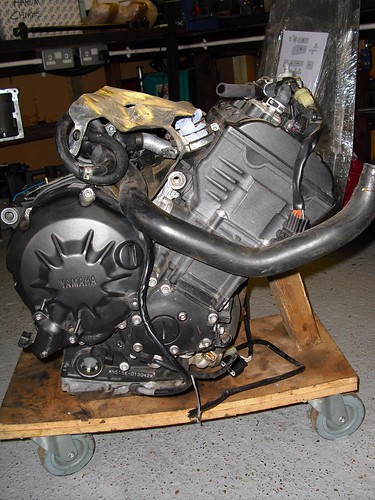
Chris was kind enough to let me have a bunch of other bits delivered to their workshop which saved me a few quid on postage. I found an R1 package on ebay and made a very low offer, assuming it all works, then I've got a bargain. From the picture the bike had front-ended something, and whilst there is no damage to the engine on the sides (Typical where the bike has slide along the road.) annoyingly one of the oil pipes has been bent, so I will need to order a new one from Yamaha. I will also need a new sump gasket and I might as well get some oil too.

The kit has pretty much everything needed to get the engine to run, it has the filler cap, full wiring loom, switches, clock, engine/gearbox bolts and a bunch of other bits and pieces. I wont be using the clocks as my primary gauges, but I will leave the connector so that I can connect them up for fault diagnoses etc.
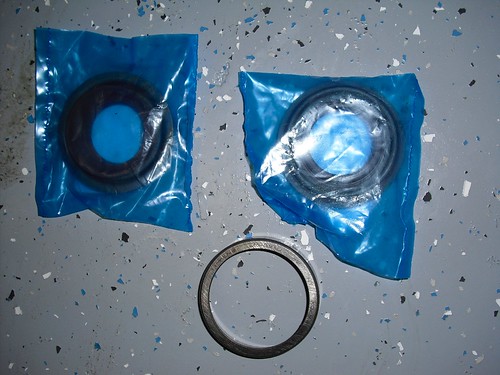
I also ordered another set of driveshaft seals for the freelander diff. I got these from
Qualitypart on ebay.

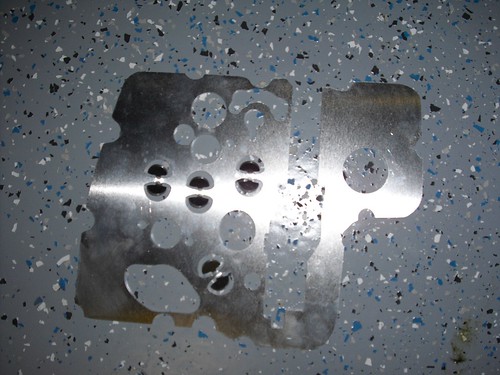
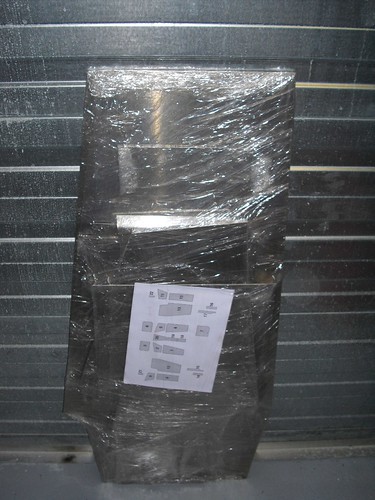
The sump baffle, also from Ebay. Its CNC machined from 2mm aluminum and looks fairly solid.

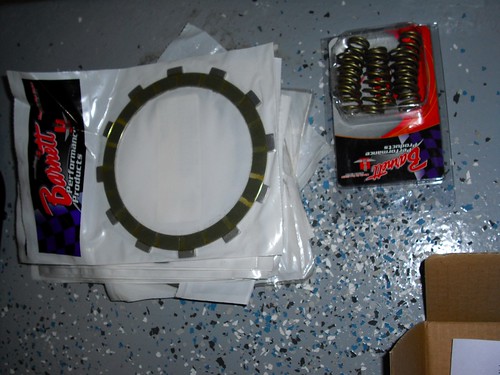
Barnett gold springs, and uprated friction plates. Also from ebay.

Power Commander, from ebay.

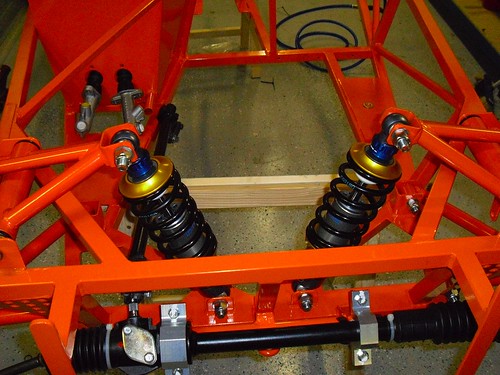
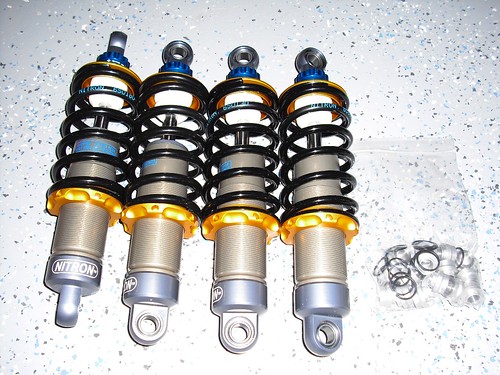
The nitron shocks are a work of art. These are Nitron NTRs with 180 and 130lb springs.

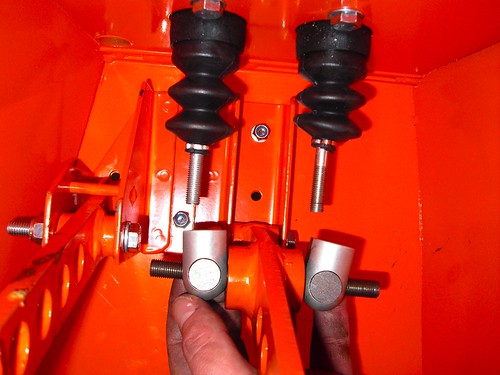
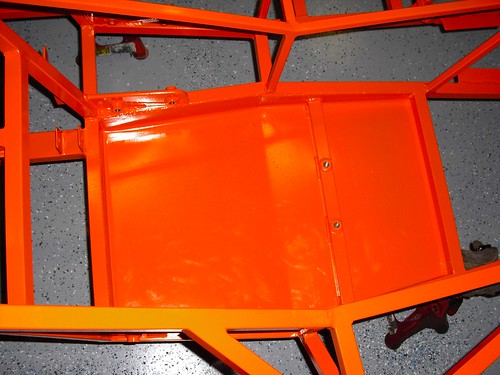
The chassis, powder coated orange, (RAL 2007) the pedal box is raised to give me more space for my big feet. The pedals are also raised so that they will touch the balls of my feet.

The drivers seat has been lowered an inch to give me some more head room, and make me fit better in the car.

I also collected the Roll-over bar, this has been extended by 40mm as I was too tall for the standard one, this should also stop the supports form digging into my sides as they are moved a little too.

The panel-work is pre-cut, and in theory doesn't require any trimming if you have a standard fury. In my case I will need to cut them where the lowered floor is, and where the side impact protection/crutch straps interfere with the shape of the chassis.

The bonnet hinge has been plated, but I think I will paint this orange.

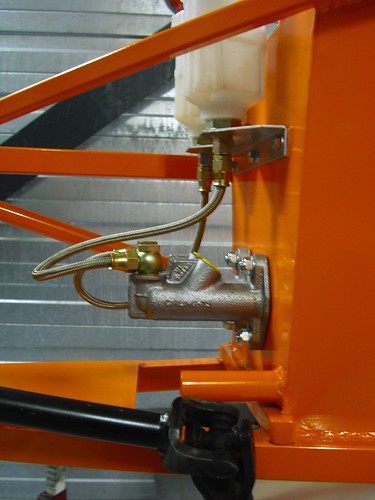
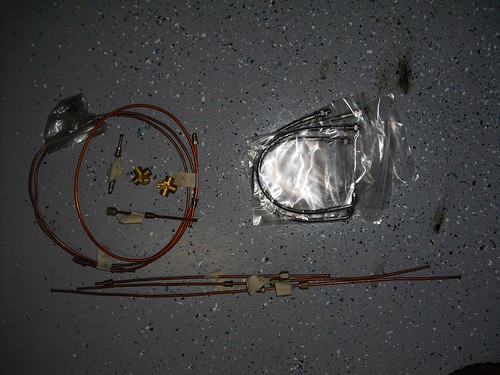
The brake line kit, this comes complete with flexible hoses, but they wont fit into my wilwood calipers so I need either new hoses, or an 1/8th NPTF->M10 Female adaptor.

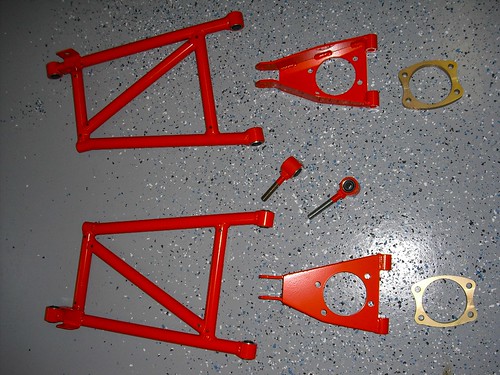
The lower rear wishbones, camber adjuster, uprights, and hub spacers.

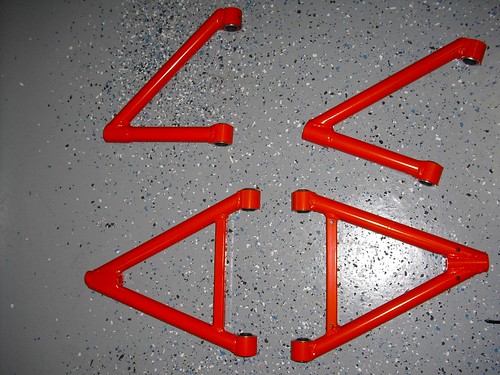
Lower front wishbones (top) and upper rear wishbones.

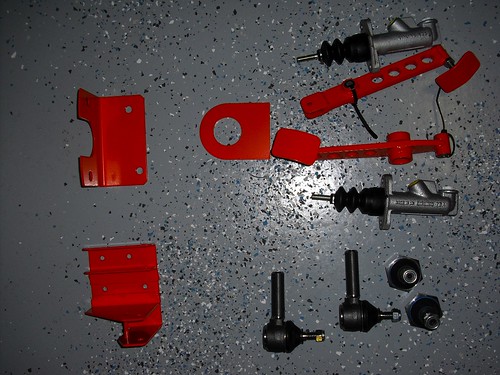
Pedals, pedal box, and steering components

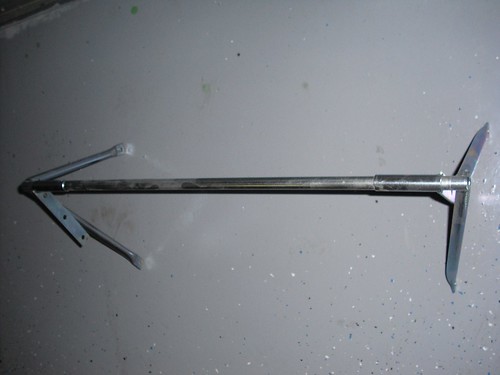
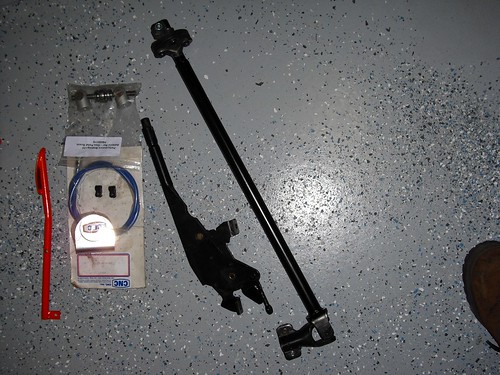
Modified hand-brake, steering shaft extension, accelerator pedal, and bias adjuster.

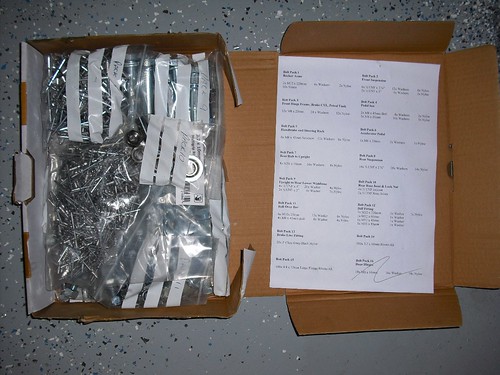
Nut and bolt pack.

Amongst other things, Chris also recommended
Gerald Dale Motor-Sport to get my DCOE's setup on the seven, so I'll book a session soon I think.